DIY Floating Shelves: A Step-by-Step Guide
Floating shelves are one of the most popular DIY projects because they look impressive, provide genuinely useful storage and display space, and are achievable by most people with basic tools. The key is finding the wall studs for secure mounting and choosing the right hardware for your specific wall type.
Tools and Materials You Need
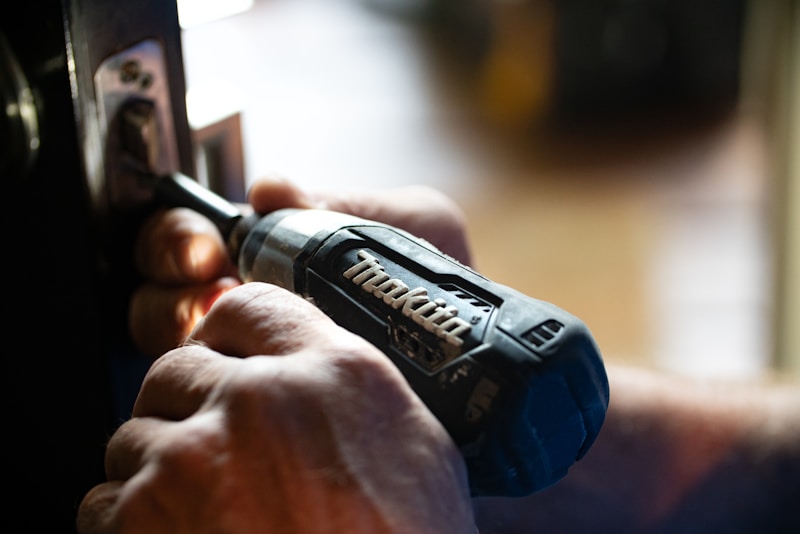
You will need a stud finder, level, drill, appropriate wall anchors or lag screws for your wall type, a pencil, measuring tape, sandpaper, and paint or stain for the shelves. For the shelves themselves, you can purchase pre-made floating shelf kits with the mounting hardware included, or build your own from 1x8 or 1x10 pine boards.
Finding and Using Studs
The strongest and most reliable shelf mounting goes directly into wall studs. Run your stud finder horizontally across the wall at the height you want the shelf. Mark the center of each stud with a pencil. Standard stud spacing in most homes is 16 inches on center. Mounting into studs allows you to support significantly more weight — typically 50 to 80 pounds per stud — than drywall anchors alone.
The Level Is Non-Negotiable
A crooked floating shelf is immediately obvious and very difficult to ignore once you notice it. Use a 24-inch or longer level when marking and installing mounting hardware, and check again after the hardware is installed but before mounting the shelf. Correcting it at that stage is much easier than trying to adjust after the shelf is attached.